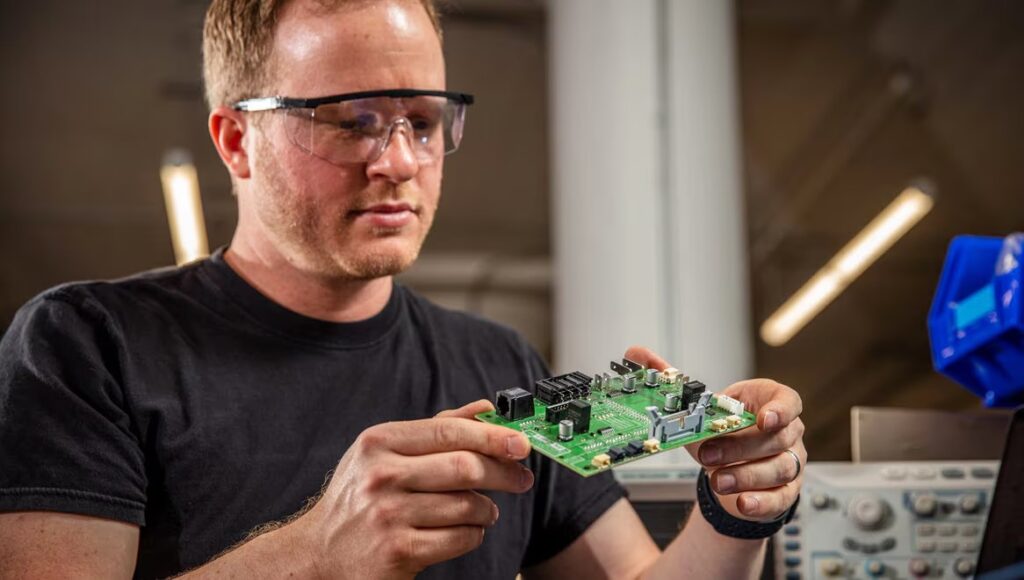
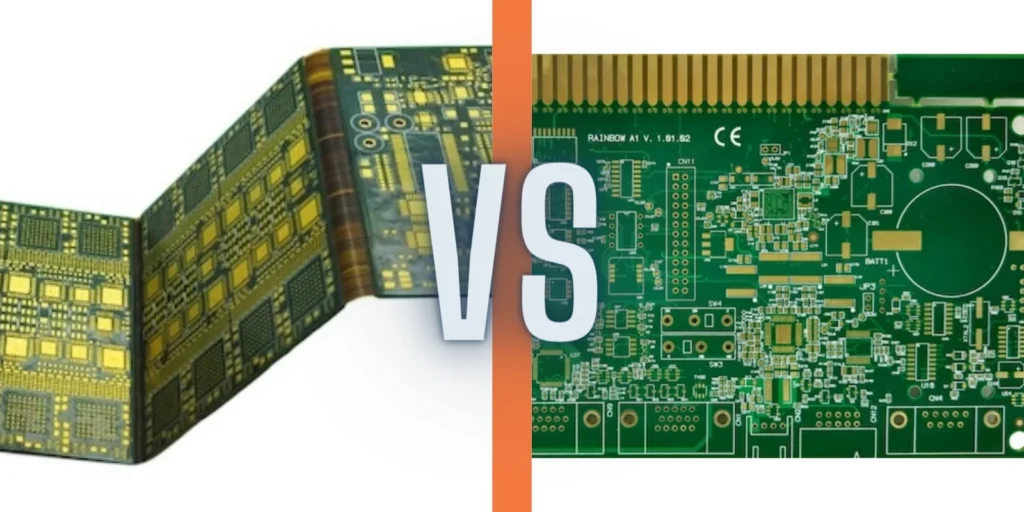
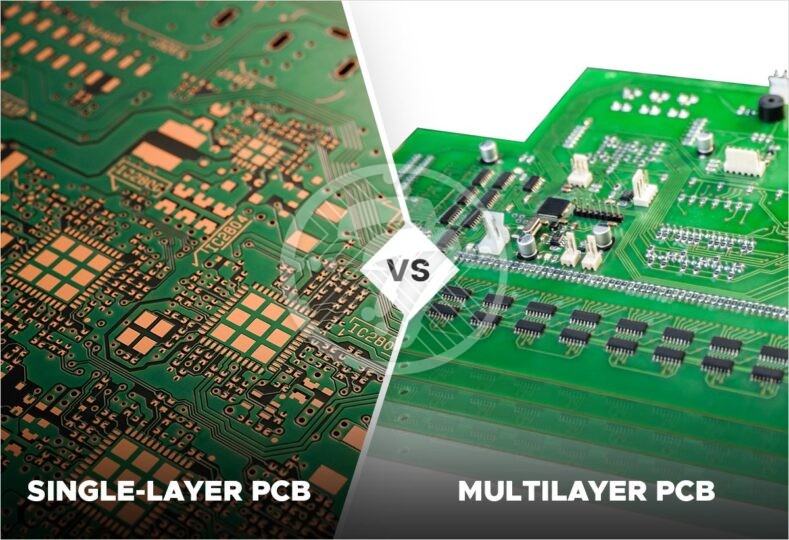
To create a printed circuit board (PCB), you need to draw holes, pads, and wires for the circuit. This skill is called PCB design and is very useful.
On completion, send the design to the manufacturer or etch it yourself.
Sound hard? Don’t worry, there are many free tools to help you do this.
Below, I will give you an overview of what you need to do.
Step 1: Create or find a circuit diagram
Before you can start drawing wires and stuff, you need to know what circuit to build. Therefore, you need a circuit diagram.
You can find work produced by others, or you can design your own from scratch.
I suggest starting with something simple. Like a blinking LED.
After mastering the circuit diagram, proceed to step 2.
Step 2: Draw the schematic diagram
First, you need to install the PCB design software.
I highly recommend using KiCad to make PCBs. it’s free and very good.
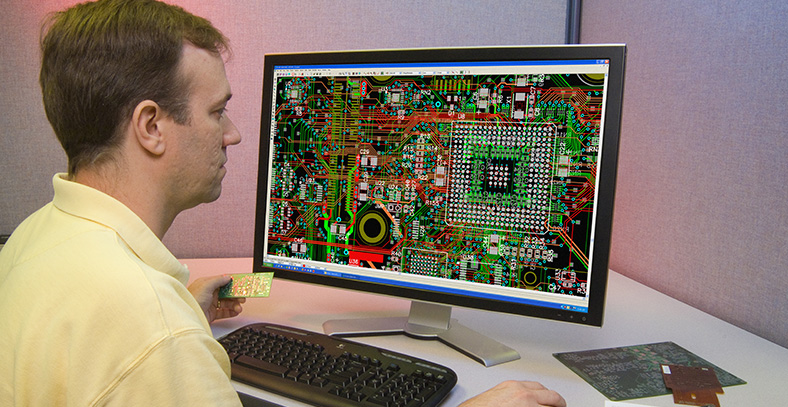
Create a new project. Then design the schematic based on the circuit diagram you found in step 1.
When finished, run the Electrical Rules Checker (ERC) to see if there are any typical errors.
Step 3: Designing the board layout
Now it’s time to draw the board. You need to transfer the schematic to the graphic of the printed circuit board.
This isn’t as hard as it sounds. Because the software will compare what you draw with the schematic file. And it will help you create the same connections.
Take your time and make sure it looks good 😉 please follow the design guidelines to draw the board.
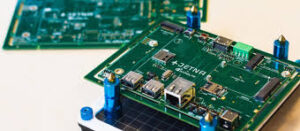
When finished, run the Design Rule Checker (DRC) to see if there are any errors.
Things to consider
Would you put the board in a box?
Remember that taller components may need to be flattened to fit them.
Place the component diagram on the board and print it on a
